Within the serene beauty of gardening, there lies a hidden enemy that can slowly corrode garden tools. Yes, rust can diminish their functionality and prevent prolonged lifespan. Yet the better you care for your garden tools, the smoother your gardening tasks become. Also, regular maintenance keeps them effective after years of your tools. It translates to saving money and less hassle while enjoying your favorite gardening activities. That’s why, in this guide, we will explore how to keep garden tools from rusting. Let’s explore together the uncovered secrets of taking care of garden tools to prevent rust.
Causes of Rust on Garden Tools
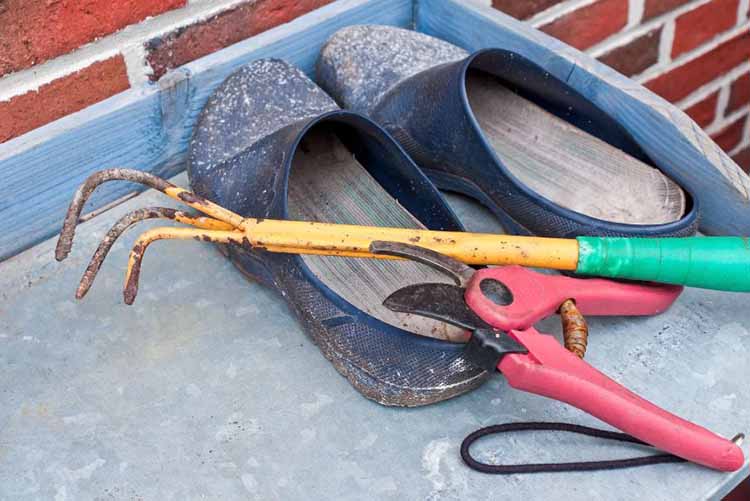
Rust on garden tools is not an uncommon problem for gardeners as garden tools are typically used outdoors and exposed to various weather conditions. Rust occurs when iron and steel tools are left in a damp place and exposed to oxygen over time. Besides, soil and dirt, low maintenance, and many more reasons can also cause rust. Here are some of the primary causes of rust on garden tools:
- Moisture: Though water is one of the main culprits in causing rust, rain, dew, and snow can also contribute to the moisture. When the weather is falling, and garden tools are left outside, they are more likely to come into contact with moisture. Thus, moisture causes rust in garden tools.
- Oxygen: Rust is an oxidation process, and oxygen is the key element. When the metal in garden tools is left outside and exposed to the air, a chemical reaction happens that causes rust.
- Soil and Dirt: Garden tools repeatedly come into contact with soil and dirt, which can contain minerals and salts that can cause rust. These elements can cling to the tools and trap moisture that causes rust on the metal’s surface.
- Lack of Maintenance: Generally, cleaning the gardening tools after a long session of gardening is a hassle for gardeners. That is why it’s not surprising for them to leave the gardening tools uncleaned after use. But what they ignore is neglecting to clean and maintain garden tools can cause rust.
- Scratches and Nicks: Most gardening tools have scratches and nicks in the protective coating or surface. These scratches can open the underlying metal. With the touch of the air, they quickly caught rust.
- Improper Storage: Rust can increase if you leave garden tools in a damp or humid environment outside without protection.
- Low-Quality Materials: Typically, lower-priced garden tools have lower-quality metals that can easily caught by rust. Investing in high-quality, rust-resistant tools can be a wise choice to avoid rust.

Cleaning and Drying Garden Tools
Cleaning rust off garden tools is the most essential and primary thing to start. Here’s a step-by-step guide on how to clean rust from your garden tools:
Materials you’ll need:
- Wire brush or steel wool
- Sandpaper (medium and fine grit)
- A bucket or container
- Vinegar or lemon juice
- Baking soda
- Coca-cola
- Salt
- Potato
- Water
- Rag or old towel
- Protective gloves
Step 1: Safety First:
Wear protective gloves to prevent any injury while handling rusty tools.
Step 2: Remove Loose Rust:
Use a wire brush or steel wool to scrub off any loose rust from the tool’s surface. You may need to use some elbow grease, but this will help to remove the surface rust effectively.
Step 3: Sanding:
Use medium-grit sandpaper to sand the rusted areas. Sand until you see bare, clean metal. If the rust is extensive, you might need to switch to a coarser grit initially and then finish with a finer grit sandpaper to smooth the surface.
Step 4: Soaking:
Cleaning garden tools with vinegar is a most popular and easy-to-get process. Fill a bucket or container with a mixture of equal parts vinegar (white or apple cider vinegar) or lemon juice and water. Place the rusted parts of the tool in the solution and let them soak from 30 minutes to an hour. For heavily rusted tools, you might need a longer soaking time.
Coca-Cola can be a handy rust-busting solution. It’s packed with phosphoric acid, a common ingredient in rust removers. You have two options: you can either submerge your tools in a bowl of Coca-Cola or pour the soda directly on them.
Step 5: Scrubbing:
After soaking, use the wire brush or steel wool to scrub the tool again. It should remove any rust that has been shed by using the above elements.
Step 6: Baking Soda Paste:
Make a toothpaste-like consistency by mixing baking soda with water until it has a toothpaste-like consistency. Apply this paste to the rusted areas and scrub with a cloth or sponge.
Step 7: Potato and Salt:
You might be wondering how a simple potato can help get rid of rust. Well, raw potatoes contain oxalic acid, a common rust-removing agent. When combined with abrasion, a raw potato becomes an effective rust remover. Slice a potato in half and sprinkle some salt on the cut side. Then, use the salted potato to scrub the rusty areas.
Step 8: Rinse and Dry:
Thoroughly rinse the tool with clean water to remove any remaining vinegar or lemon juice and baking soda remainders. Dry the tool completely to prevent further rusting.

Lubrication And Protective Coating
Choose the Right Coating: The choice of protective coating depends on the type of tool. Oil-based paint, linseed oil, or a specialized tool protectant are commonly used. These coatings act as barriers against moisture and rust.
Apply the Coating: If using oil-based paint, clean the tool’s surface, and then apply a thin, even coat using a brush or spray. Allow it to dry completely, following the paint manufacturer’s instructions.
If you prefer using linseed oil, apply it generously to the metal parts, especially those vulnerable to rust. You can also dip a cloth in linseed oil and rub it onto the metal surfaces. Let the oil penetrate and dry.
Proper Storage Techniques
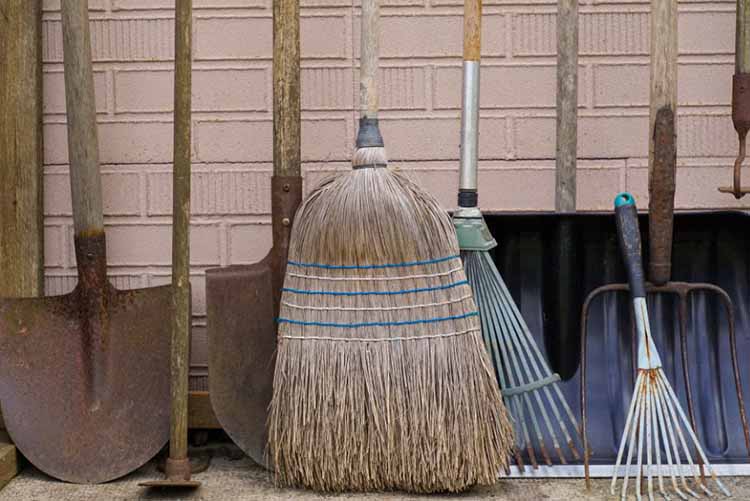
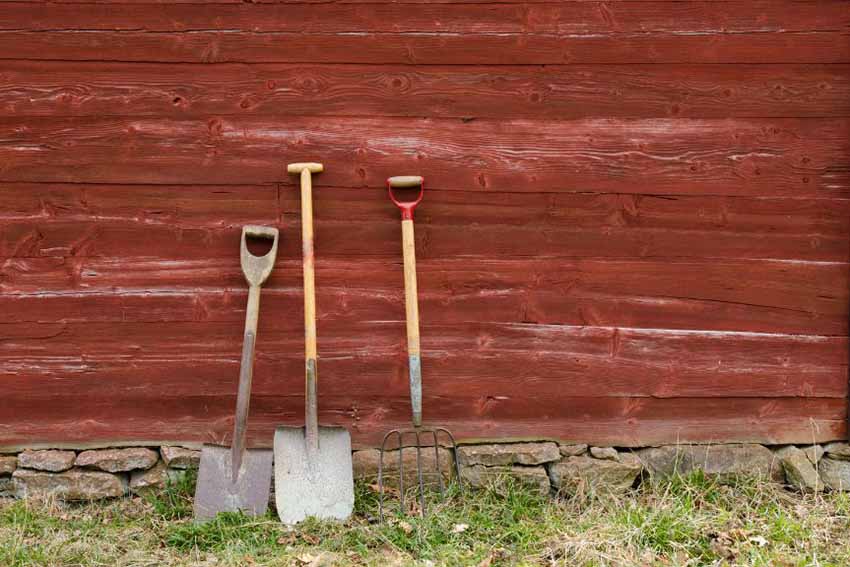
Proper storage is as essential as other steps. Make sure to store your garden tools in a dry spot to avoid rust. Use hanging hooks in a well-ventilated area such as a shed, garage, or covered storage area. Avoid leaving them on the ground, which can cause rust due to hidden moisture and deterioration. Also, ensure your storage area is secure and protected from pests. Mice and insects can damage wooden handles and make nests in your tool storage.
Additional Tips
- Small hand tools like trowels, weeding tools, and hand pruners can be stored in a pot or bucket filled with sand or a mixture of sand and oil to prevent rust.
- Label or color-code your tool storage so you can quickly identify and locate the right tool for the job.
- Keep a record or schedule for maintaining your tools. It includes cleaning, lubrication, and applying protective coatings. Regular maintenance will keep your tools in better shape.
Conclusion:
To wrap up, we strongly encourage all gardeners and tool users to follow the suggested techniques thoroughly. Regular care and maintenance are time-saving and cost-effective. By spending a little portion of your day, you can avoid the expense of replacing or repairing tools.
So, take these steps to heart. Winter is a great time to check your gardening tools. Since, now you know how to keep garden tools from rusting, start working on it. Thus when spring comes, your tools are ready for action, and you can garden without worries.
