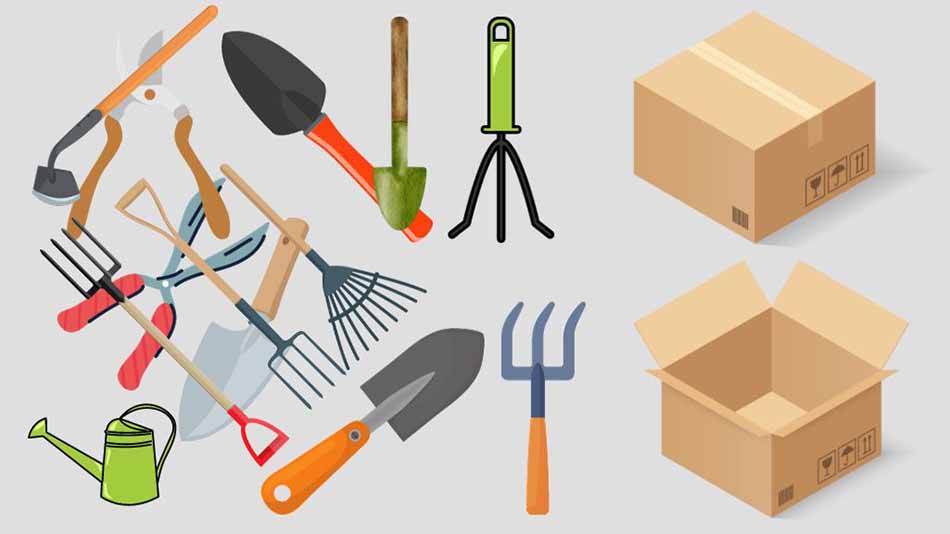
Moving from one house to another is itself a difficult task already. It becomes much more unpleasant when you are a garden person. Your garden tools become just the extras of luggage while moving.
Besides, after doing gardening for years in your house, you might not need to take all of your old garden tools to the new place. To ease the packing, you must learn how to pack garden tools for moving.
In this blog, you will learn the exact steps to do it without creating any mess and in a very short time. So, without further ado, let’s get started.
Step By Step Guide on How To Pack Garden Tools for Moving
If you don’t know where to start when you are packing garden tools for moving, it might become too clumsy and tiring to do it. That’s why you should maintain the chain of order of the steps mentioned here for best results.
Sorting and Categorizing Tools
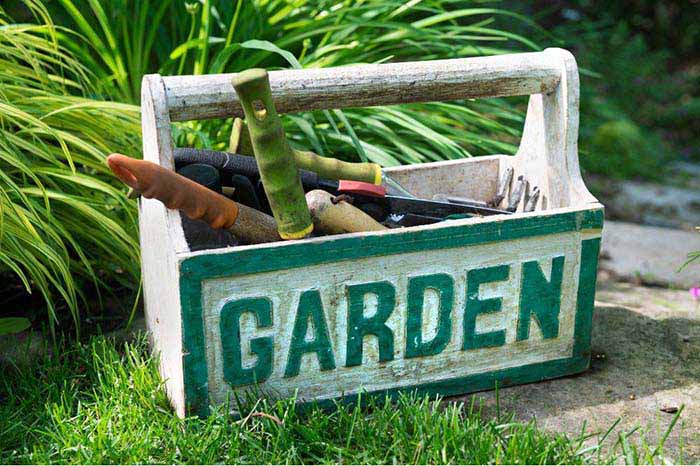
The first step for packing garden tools is sorting and categorizing your tools. Here, the primary purpose of sorting is to select the only tools you need and want to take with you.
To perform the process, collect your garden tools in your backyard or somewhere spacious inside your house. Gather all the tools and start to sort them out in different piles.
Primary, you can make three piles; they might go as a pile of tools to keep, a pile of tools to sell or donate, and a pile of tools to throw away or dispose of. Now, take each of your tools individually and separate them into the dedicated piles for each one.
While sorting in the piles, keep a list of tools to keep. So that, when you have moved to the new place, you can recheck if all the tools are right there. You can also list tools to sell or donate to keep a record while selling or donating.
Get Rid of Unnecessary Tools
The next step is to eliminate unnecessary garden tools. Well, most of the work of this already gets done while doing the first step. However, consider rethinking to mark your unneeded tools.
These are tools that can be replaced with a new one at this time. If a device is too old and already has rust on it or broken once or twice, it is wise to avoid taking it along with you to your new house.
You might also throw away tools that are too long or not usable in your new home due to storage shortages or lack of applicable facilities. Besides, you can dump the unnecessary tools going through the categories.
If you think that you won’t need your old rakes, shovels, or loopers in your new house, don’t take them. Also, consider not packing double items. That means if you have two same loopers, there is no need to take both. Pack one and sell, donate, or throw the other one.
Disassembling and Cleaning
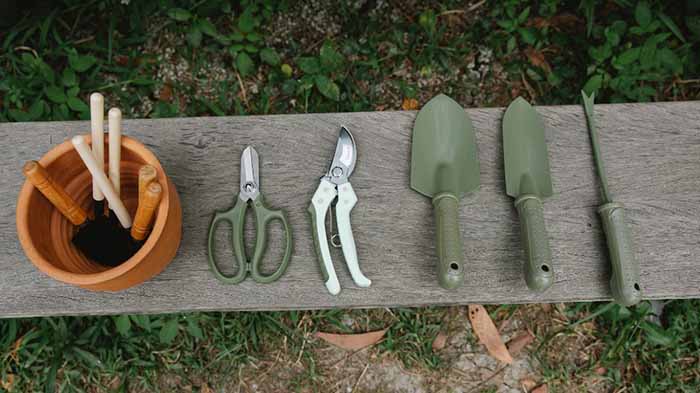
Once you are done sorting all of your necessary garden tools that you want to pack, it’s time to clean and disassemble them. The disassembling procedure doesn’t take too long, but the cleaning procedure takes time.
But cleaning your garden tools before packing for moving is necessary if you don’t want to transmit dirt, pests, or fungus to your new garden from your old garden. There are two ways you can clean your garden tools.
The first is to disassemble your garden tools and soak them in a mixture of hot water and dishwashing soap for 10 to 15 minutes. The process will loosen the dirt and clean the tools automatically.
Then, take the tools out of the water and scrub well to remove the excess mud and dirt. Finally, dry them using a dry cloth and keep them in the sun to dry completely with natural heat.
If you need more clarification about soaking the tools directly in water and worry about getting rust, then use the second method. In the process, firstly, take a scrapper and remove the dry mud from the tools. Then, take a sponge, soak it in warm water, and clean the tools by rubbing it over them.
Lastly, apply rubbing alcohol or chlorine to disinfect your garden tools properly. Then, make sure all the tools are dry and ready to get packed.
Gathering Packing Materials
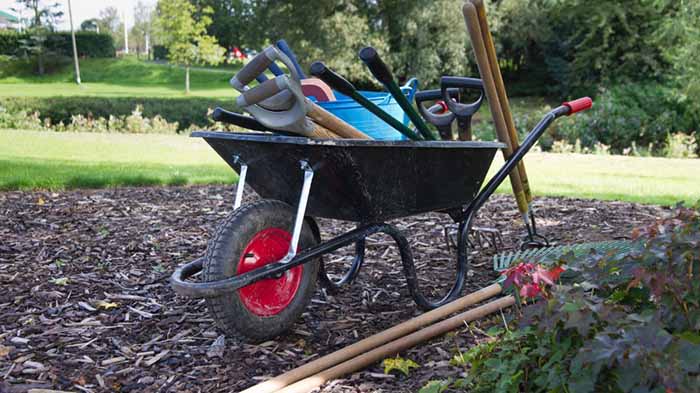
When you have decided what garden tools to keep for moving, it’s time to get suitable packing materials. You will need boxes of different sizes for garden tools, bubble wrap, tape, zip ties, strings or ropes, etc.
When shopping for these materials, get an idea of what you will need in what quantity by looking at your garden tools.
If you don’t want to buy a bulk amount of packing materials at once, you can get more materials from the store whenever you need them.
Preparing Tools for Packing
Throwing all the garden tools in different boxes and transporting them is never a wise decision. Instead, this method might get someone hurt during transportation or damage the tools themselves on the road.
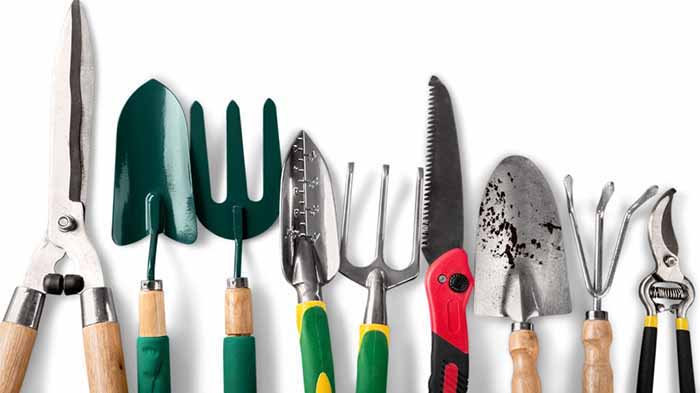
That’s why you have to bundle up the garden tools safely and then place them in dedicated boxes. To do this, firstly, separate the tools into long-handled and short-handled categories.
Then, disassemble the sharp blades if possible. Wrap each blade with multiple layers of bubble wrap and secure the edges with tape. Do the same thing with the blades that can’t be removed from the tools. Make sure each of the sharp tools is covered securely.
You can also perform the covering procedure using old blankets. Lastly, bundle up the short-handled tools in one or more sections using blanket and zip ties to put them in one-sized box. And bundle up the long-handled tools separately in the same manner. You can also make separate bundles of blades for different size boxes.
Properly Packing the Tools
Finally, in this step, put your garden tools in the boxes. Here, you must be careful about selecting the box size. Put your small-handled tool bundles in small or medium-sized boxes or boxes.
Then, put the blade bundles in a separate small or medium box; if needed, use multiple packages. Next, place the long-handled tools in large containers. You must understand that you can use various boxes and fill the box sparingly.
Labeling and Organizing the Boxes
When you have placed the garden tools for packing, check each box and label the boxes. Use a dark marker and write boldly on the boxes. Also, mention the labels on each side of the box so that you can recognize the box while stacked up.
Check the items in each box and write the labels. Also, make labels for fragile tags to know that they need extra care. Finally, use tape and close and secure all the boxes.

Loading and Transportation
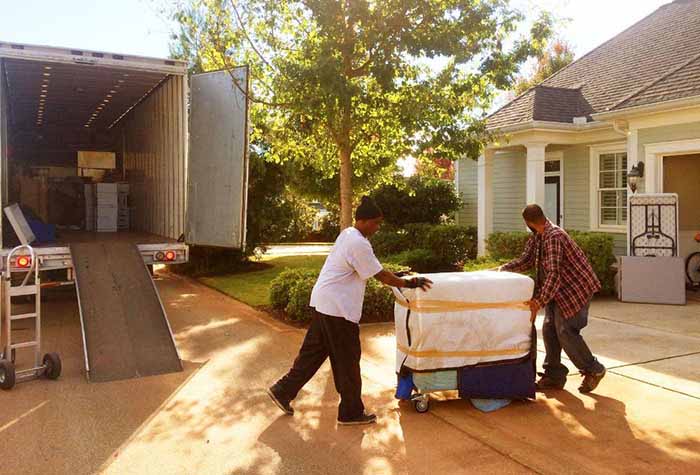
Finally, load the boxes in your transport. While doing so, put the hard garden toolboxes first and keep the fragile ones on top of the stack so they don’t break on the road.
After putting all the boxes together, secure them with a rope tied around the boxes and the transport. Then you are ready to move.

Storing the Garden Tools In The New Location
When you reach your destination, unload the garden tools in a vast space. Then, sort them out by seeing the labels. Then, please keep them in the storage, where you want to place them by size and shape.
When you are done moving, you can open them all and stack them in their dedicated racks or places.
Pro Tips for Moving Garden Tools
Here are some pro tips for packing garden tools for moving.
If you have big electric-powered tools or lawnmowers, packing them might be difficult. In that case, be extra cautious. Disconnect the tool’s power, disassemble it, and then go for the packing.
If you want to move it assembled, then follow these steps.
- Remove all the gas or fuel from the tool or mower, then remove the little parts of it. But keep the big body of the tool intact.
- Then, put it on your moving truck and make sure the tool is pushed back inside the truck.
- Finally, tie the tool with a Nylon rope, securing several parts. It can take multiple ropes to complete the challenging tying process accurately. Lastly, give it a shake to see if the bond is tight enough.
In case of packing brooms and mops, try to tie them together and put them in a big sack. This will keep these long-handled tools in one place while moving down the road.
Do not pack, beach, fertilizers, ammonia, pesticides, batteries and herbicides. Moving these elements by packing like these is illegal and can cause harm if spilled on the road.
You do not necessarily need to pack all the garden tools at once in the truck and move. If needed, make multiple trips back and forth to move the tools, but don’t overfill the truck at once. If you do, it might break or damage the tools.
Wrap Up
That’s all about how to pack garden tools for moving correctly. I hope that now you understand the steps and can perform the procedure on your own. Write to us in the comments and let us know if this guide has helped you.
Meta Description
Want to learn how to pack garden tools for moving? Follow the most accessible 9 steps to do it mentioned in this blog for easy moving from one place to another
